Table of Contents
In today’s digital age, the readiness of websites and web applications to handle varying levels of traffic is crucial. Whether you are launching a new website, updating an existing one, or ensuring optimal performance, load testing is essential. Locust.io, an open-source load testing framework, proves to be a powerful tool for this purpose.
This guide will take you through the process of setting up and using Locust.io to test your website’s performance effectively.
What Is Locust.io?
Locust.io is a Python-based load testing framework designed for ease of use, flexibility, and scalability. It enables you to create and run load tests, simulating thousands of users accessing your website simultaneously.
With Locust, you can measure your site’s performance, identify bottlenecks, and ensure it can handle expected traffic without slowdowns or crashes.
How to Set Up Locust.io: Prerequisites
Before we dive into load testing with Locust.io, make sure you have the following prerequisites:
- Python: Locust.io requires Python. If you don’t have it installed, download and install the latest version from the official Python website.
- Pip: Ensure you have pip, Python’s package manager, installed.
- Website URL: Have the URL of the website on which you want to perform load testing.
Step 1: Installation and Setup
To get started, install Locust using pip. Open your terminal and run the following command:
pip install locustThis will install Locust.io and its dependencies.
If you already have locust installed in your system, then you can upgrade it using the following command.
pip install --upgrade locustStep 2: Create a Locustfile
Locust tests are defined in Python files called “Locustfiles”. Create a new directory for your project and create a file called locustfile.py inside it. This file will contain your load testing script.
Here’s a simple example of a Locustfile to get you started:
locustfile.py
from locust import HttpUser, task

class MyCustomUser(HttpUser):
    @task
    def visit_homepage(self):
        self.client.get("/")
Step 3: Start the Locust Web Interface
To run Locust, start the Locust web interface. In your terminal, navigate to your project directory and run:
locustThis will start the Locust web interface, and you’ll see output that Locust is running on a specific address (usually http://localhost:8089 or http://0.0.0.0:8089/).
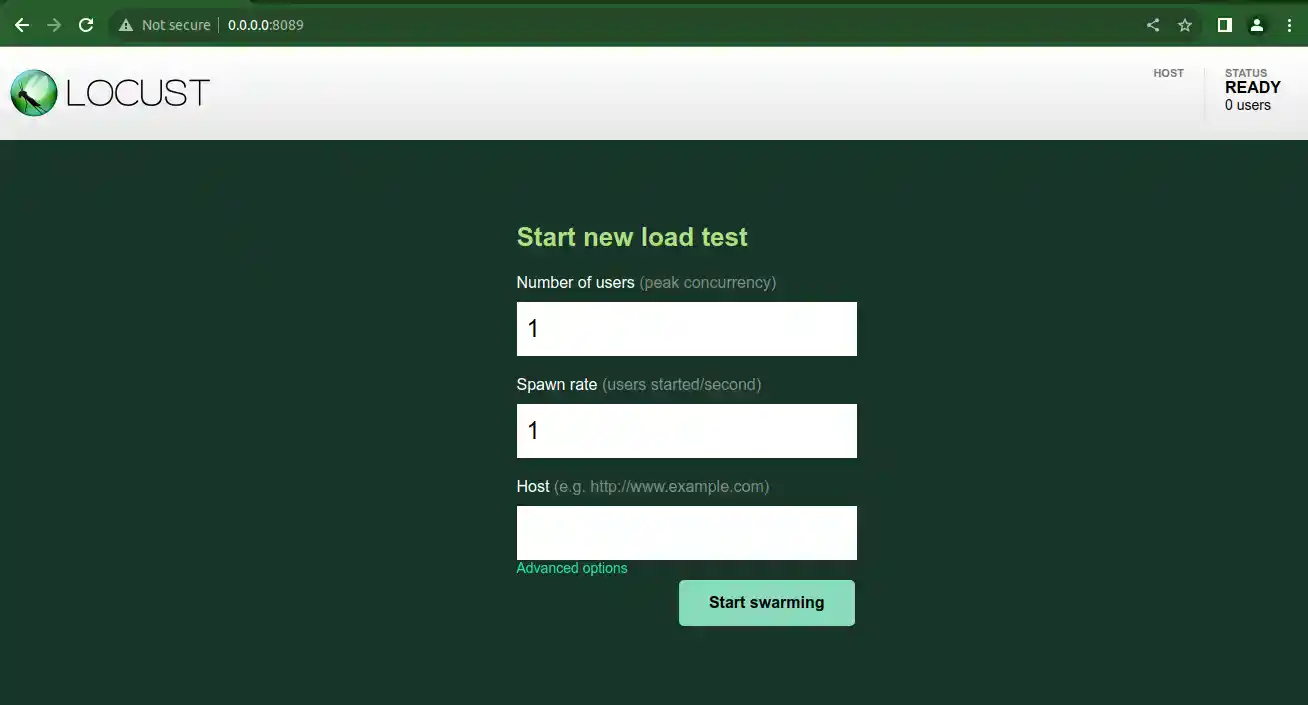
The latest version of locust comes with a modern UI, which you can access using the following command
locust --modern-ui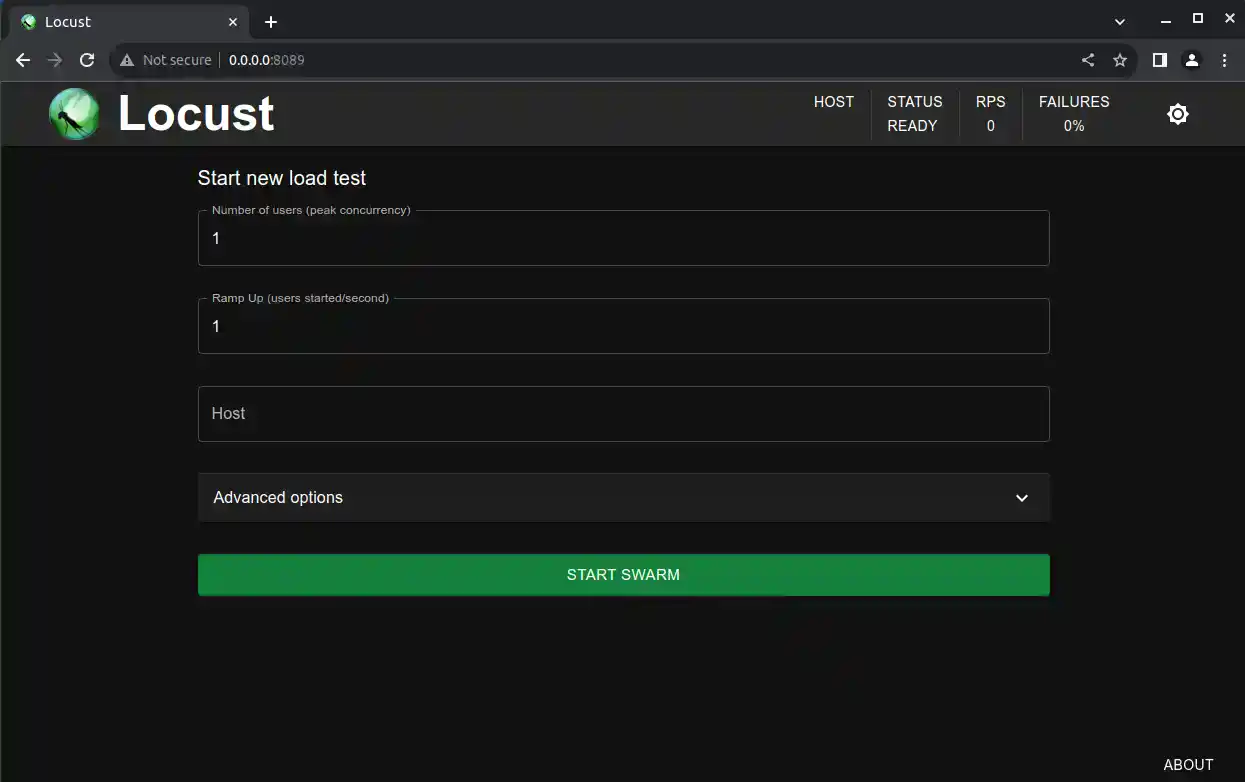
Step 4: Define Your Test Parameters
Access the Locust web interface in your browser by going to http://localhost:8089 (or the address displayed in your terminal).
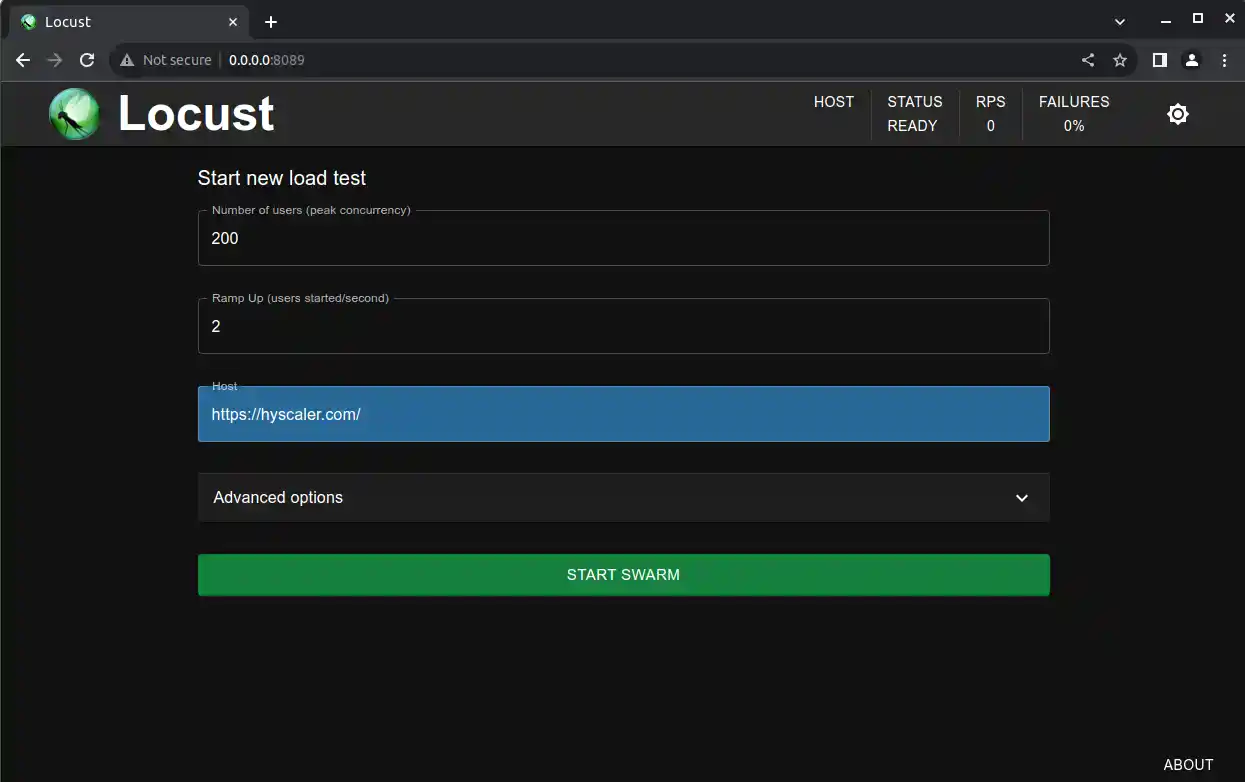
In the web interface, you can define the number of users and the hatch rate, which specifies how quickly new users are spawned.
- Set the number of users, Ramp Up per second and your Host
- Click “START SWARM” to begin the test.
Step 5: Run the Test
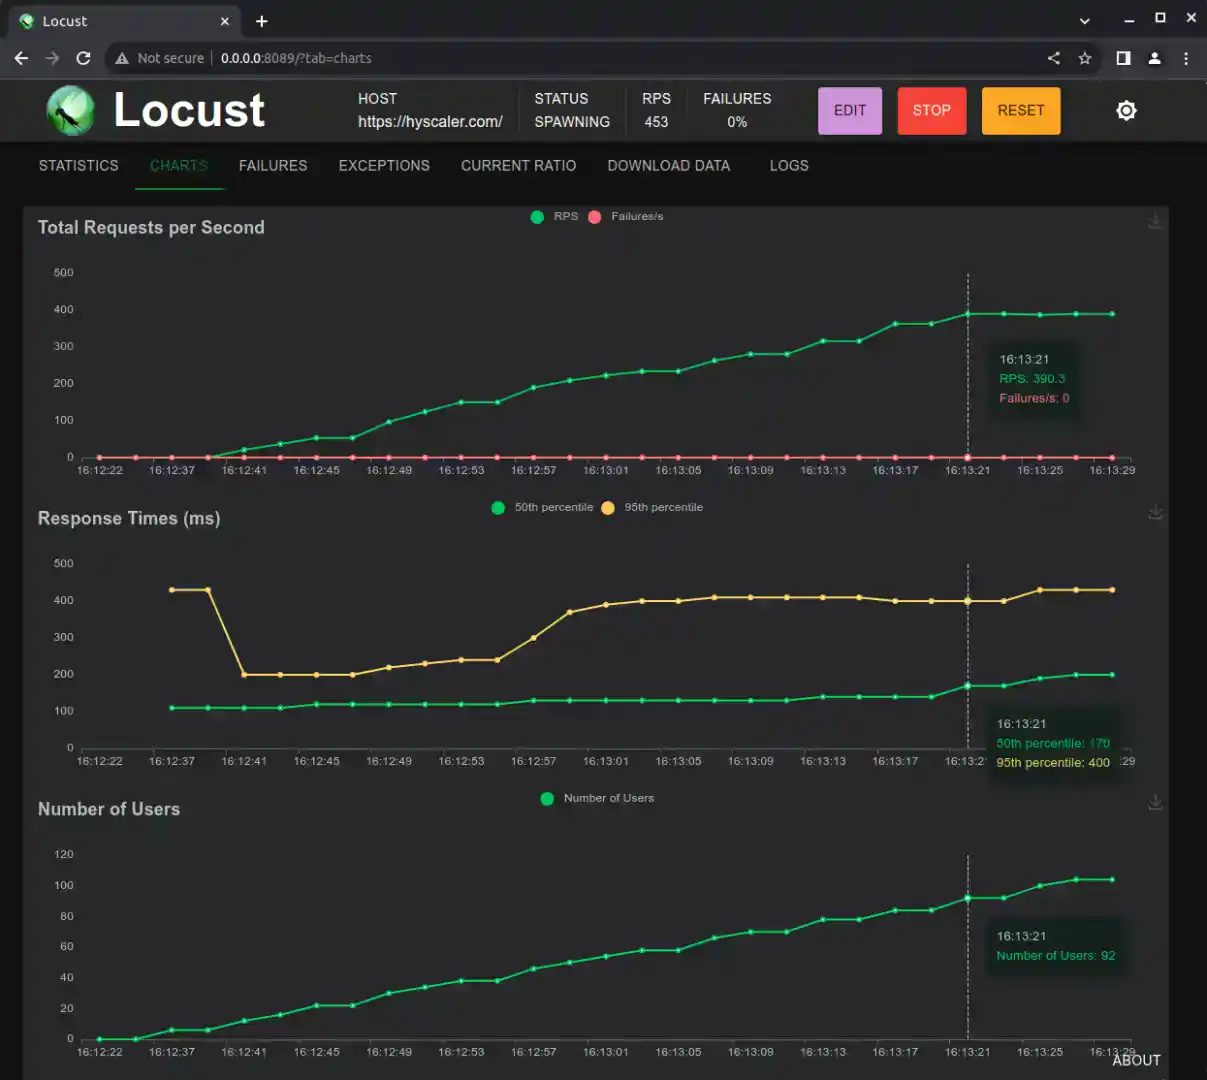
Locust will start simulating users visiting your website based on your script and parameters. You can monitor the progress, including response times and failure rates, in the web interface.
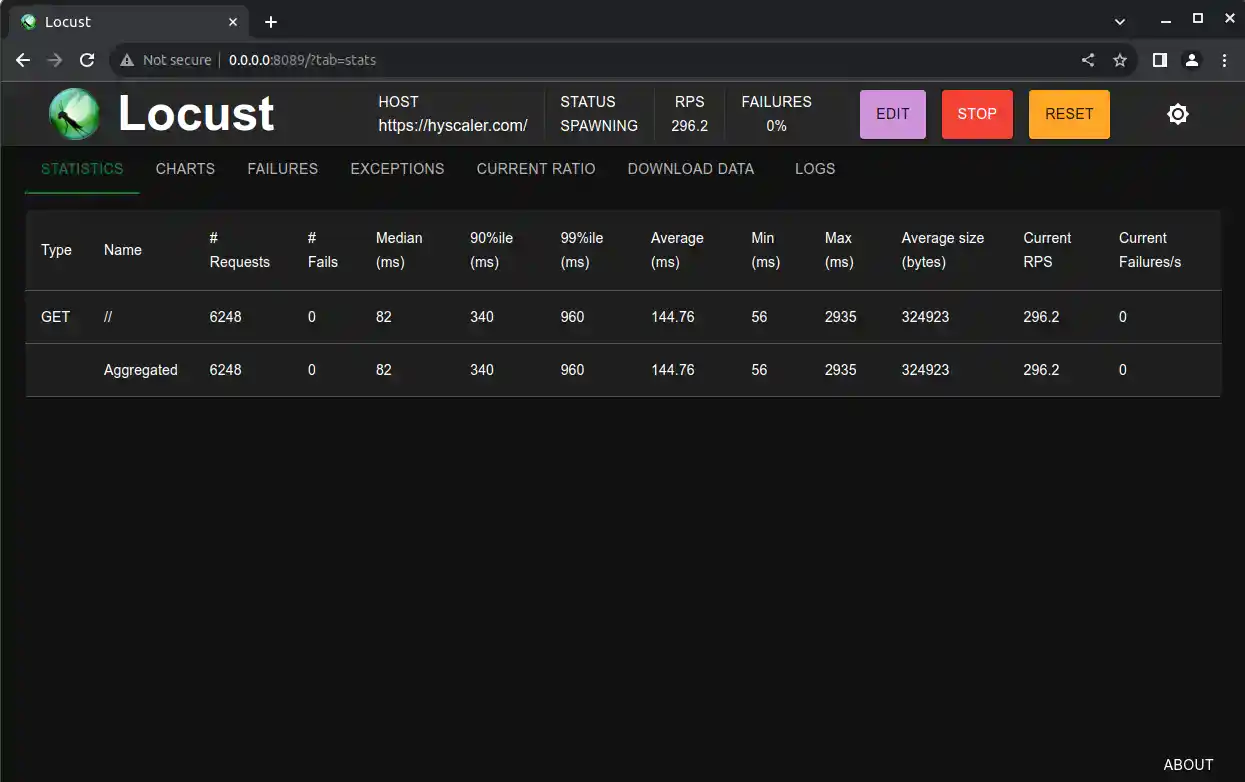
Step 6: Analyze the Results
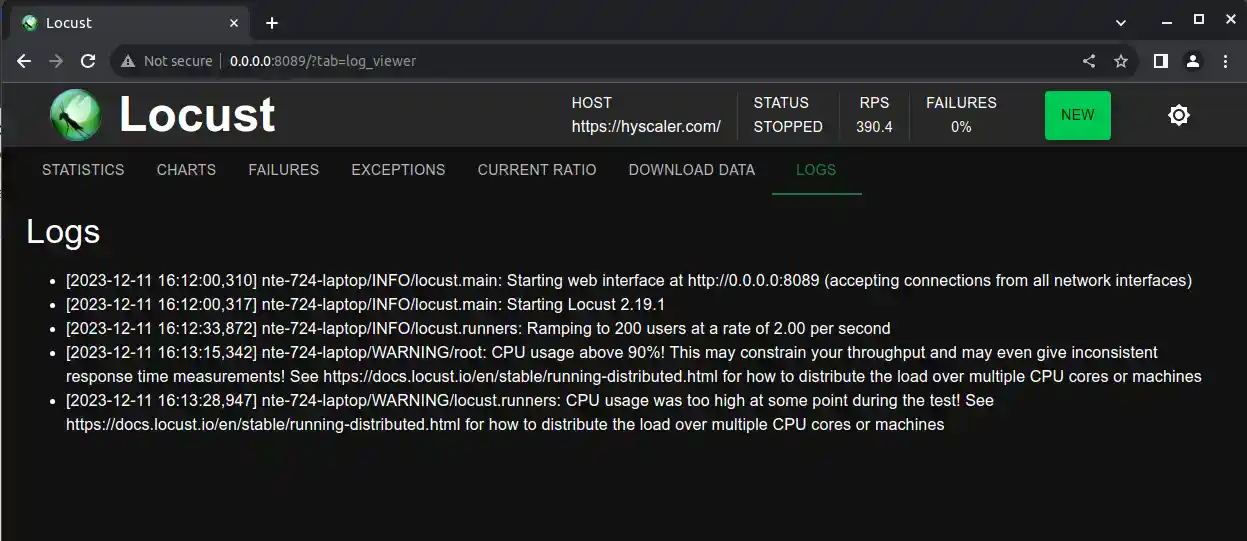
After your test is complete, you can analyze the results to identify performance issues, such as slow response times or errors.
Step 7: Further Testing
Modify your Locustfile to simulate different user behaviors, test specific functionalities, or simulate different scenarios.
Conclusion
Load testing your website with Locust.io is a crucial step in ensuring optimal performance. By simulating real user behavior, you can identify and address performance issues before they impact your users. You can explore advanced features and fine-tune your testing to meet your specific needs.
Happy load testing!